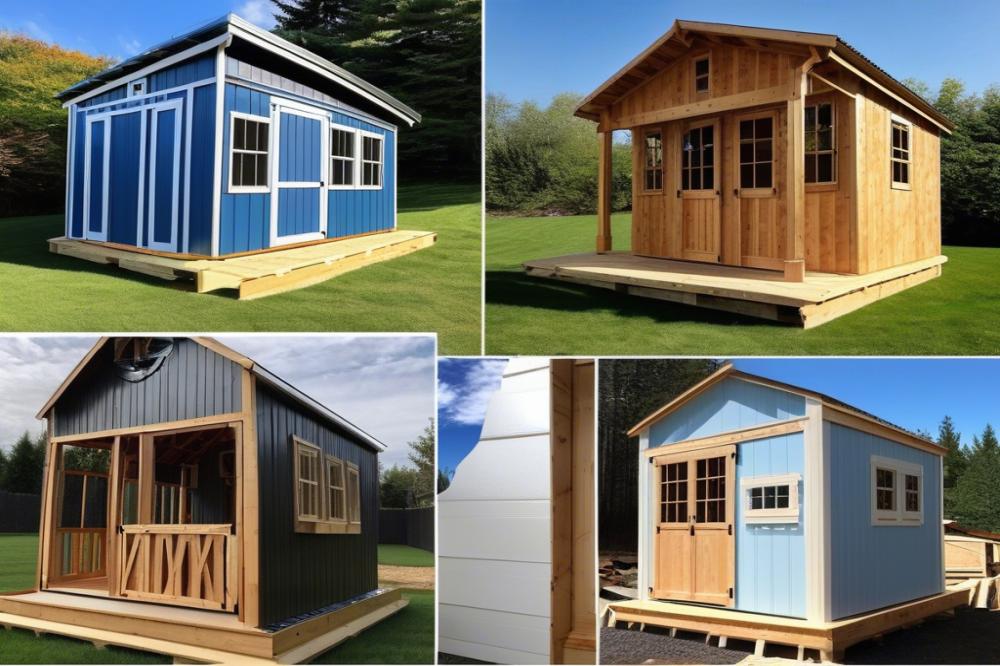
Building Your Own Shed: A Practical Guide
Creating a DIY shed can be an exciting project for anyone interested in home improvement or gardening. This simple structure serves various purposes. Outdoor storage is one essential function, helping to keep your yard neat and organized. Whether it’s bicycles, lawn equipment, or gardening supplies, a wood shed can be a real game changer for keeping your outdoor space clutter-free.
A gardening shed is another wonderful option. Here, you can store tools for building a shed, seeds, and pots, providing a dedicated area for your green thumb. When you have a space dedicated to gardening, it can greatly enhance your ability to cultivate plants and flowers. In addition, a personal touch in the design allows for creativity and self-expression.
Planning and preparation play a vital role in this process. Before diving into shed construction, think about the location and shed foundation. A level area with good drainage is key to ensuring longevity. It’s also crucial to develop detailed shed plans that fit your needs.
Consider the shed materials you’ll use. Wood, metal, or plastic can all be suitable depending on your style and budget. Each material offers unique advantages. For those willing to invest time, creating a beautiful, functional structure can be incredibly rewarding. Therefore, following a beginner’s guide can set you on the path to success as you embark on this journey.
Understanding Shed Types and Purposes
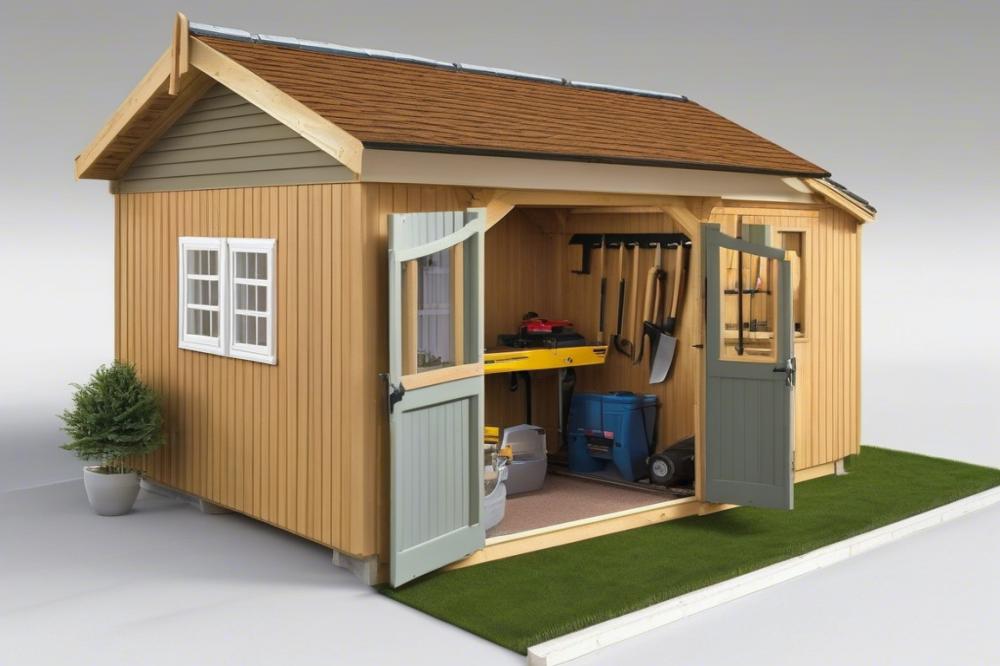
When planning to build a shed, understanding the different types available is essential. Various sheds serve specific purposes, and choosing wisely can make a big difference. Gardeners often opt for a gardening shed. This type of structure provides a dedicated space for potting plants and storing gardening tools. If you’re someone who enjoys nurturing your green thumb, this option is ideal.
A wood shed typically accommodates firewood or other timber supplies. It helps keep the wood organized and protected from the elements. Storing wood properly also prevents moisture damage, which is crucial if you want to use it for heating in the winter.
Utility sheds function as versatile outdoor storage solutions. These structures can house anything from lawnmowers to gardening equipment. They often have multiple shelves, hooks, and compartments to make the most of the space. For homeowners with limited garage space, a utility shed can be a lifesaver.
Before selecting a shed type, consider your needs. Do you need extra storage for tools or items rarely used? Or maybe you require a place to work on hobbies away from the house? Knowing your primary activities can help narrow down your options and inform your shed design.
Some DIY enthusiasts might explore plans specifically designed for multi-purpose uses. A well-thought-out design can offer flexibility. You may start with a focus on gardening, but later modify the interior as your needs change. Building a shed with adaptability in mind can save you time and money down the road.
Next, factor in shed materials. Wooden structures provide a traditional look and can be customized in various ways. Metal sheds, on the other hand, require less maintenance and often come with pre-cut parts for easy assembly. Evaluating the pros and cons of different materials will assist you in making a knowledgeable decision.
The foundation of your shed is another vital aspect. A strong, stable foundation prevents settling and keeps the structure level. Concrete blocks or treated lumber can serve well for outdoor storage. Such a base supports the shed better and prolongs its life.
Lastly, gather tools for building a shed well in advance. Having everything on hand before you start will make the project smoother. Proper preparation leads to success, especially for beginners. By understanding shed types and their purposes, you set the stage for a rewarding DIY project.
Planning Your Shed Build
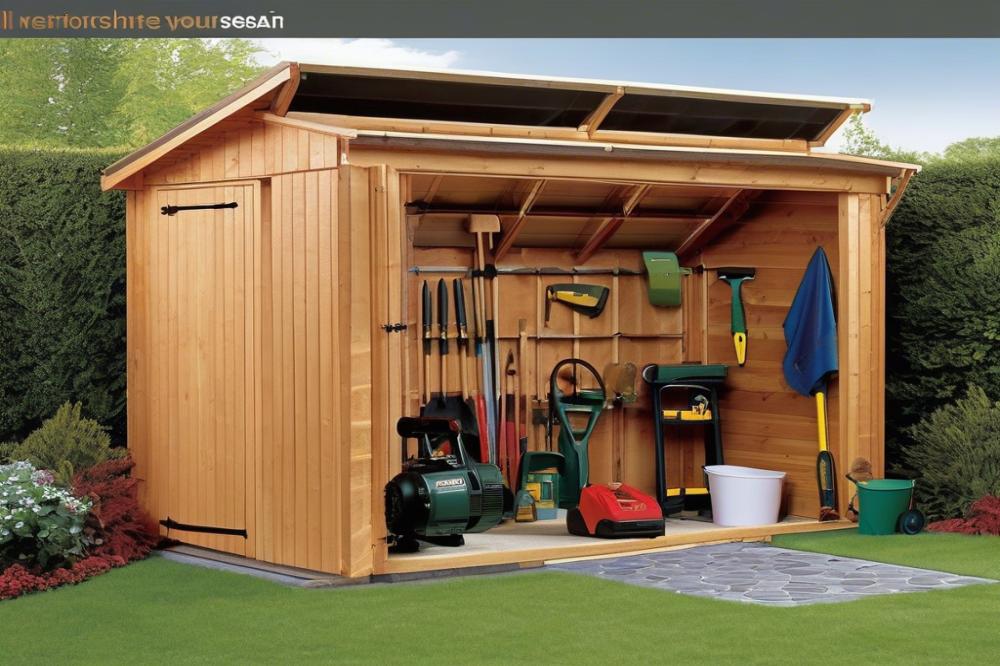
Before diving into a DIY shed project, it’s essential to have a clear plan. Good shed plans serve as your roadmap. Without them, the building process can become confusing and chaotic. First, you will need to decide the size of your shed. Think about what you want to use it for. Is it an outdoor storage area for tools? Perhaps a cozy gardening shed? Your intended purpose will help shape the dimensions.
Hidden costs often pop up when building a shed. For instance, you might overlook expenses like permits, utilities, or even extra materials. Planning prevents these surprises. Always budget for additional tools for building a shed, as they may be necessary. Some might prefer a wood shed while others may want a metal structure. The choice of materials can affect the overall cost and durability of your shed.
Local building codes can impact your shed design. These rules dictate how high your shed can be, how far it must be from property lines, and what materials are allowed. Checking with your local government should be one of your first steps in the planning stage.
In addition to size and regulations, think about the layout as well. Will you need shelving for storage? Do you want windows for natural light? Each aspect influences the function and appearance of your shed. A well-thought-out foundation is crucial, too. Ensure it accommodates the weight of your structure and prevents water damage. This can involve concrete or timber, depending on your location and budget.
Consideration of aesthetics can also play a role in your shed design. Do you want it to blend in with your surroundings or stand out? The color scheme you choose should complement your house or garden. Visual appeal becomes a part of your planning process, especially if you want your shed to be more than just a functional space.
Whether you’re a novice or more experienced, taking time to plan your shed build is vital. The preparation stage creates a smoother building experience. Thoughtful planning can prevent many headaches later, allowing you to enjoy your new work or storage space.
Choosing the Right Tools for Building a Shed

Building a shed requires the proper tools. A well-chosen selection can make the task easier and more enjoyable. Some of the essential tools for building a shed include:
- Measuring tape
- Level
- Hammer
- Screwdriver
- Power drill
- Circular saw
- Safety goggles
- Work gloves
- Paintbrush or roller
- Tarps or drop cloths
It’s important to select tools based on comfort and ease of use. Beginners should prioritize lightweight options. A heavy-duty tool may not always be the best choice, especially for those just starting. For example, a power drill that feels comfortable in your hand can help avoid fatigue.
Safety should be at the front of your mind. Always wear safety goggles when cutting wood or using power tools. Gloves protect your hands while you work. Proper gear makes a big difference.
Each stage of the building process might require different tools. Begin with measuring and marking your shed foundation. You’ll need a reliable measuring tape and level for this. After that, as you put together the basic structure, a hammer and circular saw come into play.
Gather your materials before starting. Having everything ready prevents delays. Look at your shed plans to see what tools you might need at each step. A well-structured plan could include all the items required for your gardening shed or wood shed.
Make sure you know how to use each tool correctly. Watching tutorials online can help beginners. Many DIY shed resources can guide you through the process safely. Working efficiently with your tools will speed things up and result in a better final product.
Selecting Shed Materials

Choosing the right materials for your DIY shed is crucial. It can determine the durability, appearance, and functionality of your outdoor storage space. Various materials are used in construction, with wood, metal, and vinyl being the most common options. Let’s explore their features, benefits, and drawbacks.
Wood
Wood is perhaps the most traditional choice for shed construction. Many people prefer its natural look. It easily blends with gardens and landscapes. A wood shed can be customized in appearance, making it a flexible choice for your shed design. It’s also relatively simple to work with when following shed plans. However, wood requires maintenance. Over time, it can suffer from rot, insects, and warping. Ensuring that your shed foundation is well-prepared and using treatment can help combat these issues.
Metal
Metal sheds provide a modern alternative to wood. They are typically made from steel or aluminum. These materials offer great durability and resistance to pests. Metal structures can stand up to the elements quite well. However, they can become hot in the sun and may be less insulated than wood. Additionally, some people find metal sheds less aesthetically appealing. They usually need to be painted or coated to prevent rust.
Vinyl
Vinyl sheds are another great option to consider. They are made from a plastic material that resists fading and rotting. Not only are they easy to clean, but they also require minimal maintenance. A gardening shed made from vinyl can stand up to moisture without any worry. However, vinyl may not be as sturdy as metal or wood. It can also be more expensive upfront compared to other materials. Finding the right balance between cost and durability is important for beginners.
Choosing durable materials matters greatly. Think about what you will store inside the shed. Will it hold tools for building a shed, gardening equipment, or outdoor furniture? The purpose will influence your material choice. Consider climate conditions in your area as well. A shed exposed to harsh weather may require sturdier materials.
In summary, weigh the pros and cons of each material type carefully. Wood offers a charming aesthetic, metal grants strength, and vinyl ensures low upkeep. Remember that the material should match your specific needs and lifestyle. Making an informed choice will lead to a satisfying project.
Constructing the Shed Foundation
A solid shed foundation is vital for the durability and stability of your structure. Without a strong base, your DIY shed may face issues like water damage, warping, or even collapse. Taking the time to build a secure foundation will pay off in the long run. It will keep your outdoor storage safe and extend the lifespan of the shed materials you choose.
Several foundation options are available. Concrete blocks offer a stable and long-lasting choice. These blocks provide good support and can be easily leveled. Another popular option is gravel. This foundation allows for drainage, helping to prevent water from pooling under your shed. Wooden skids are also effective. Typically, they consist of treated lumber placed under the shed. This method is particularly common for smaller sheds like a gardening shed or wood shed.
Preparing the site is essential before laying any foundation. Start by clearing the area. Remove rocks, debris, and vegetation to create a level surface. Mark out the dimensions according to your shed plans. Accurate measurements will help ensure proper alignment during the building process. Next, use stakes and string to outline the foundation area. This step provides a clear visual of where the shed will sit.
Once the site is ready, it’s time to lay the foundation. If you’re using concrete blocks, position them at the corners and along the sides, creating a grid-like pattern. Each block should be leveled to guarantee an even surface. When opting for gravel, dig down to the correct depth and lay a layer of gravel evenly across the area. Tamping it down will help set up a solid base. For wooden skids, lay the skids parallel to one another, ensuring they sit flat and level.
With the foundation laid, check for level again before starting construction on the shed. A well-constructed foundation sets the stage for the entire shed design. Following these steps carefully lays the groundwork for a successful build and helps avoid future problems.
Building the Shed Structure
Creating the structure of your shed is one of the most important steps in your DIY project. It’s essential to follow your shed plans closely to achieve the best results. Begin with the shed foundation, as a solid base is crucial for the stability and durability of your outdoor storage. Make sure the foundation is level, whether you choose concrete blocks, a timber frame, or a concrete slab. This base will support everything above it.
Next, focus on framing the walls. Use quality lumber, typically 2x4s, to form the frames. It’s best to cut all the pieces according to the dimensions outlined in your shed plans. After cutting, assemble the wall frames on the ground first. Use screws or nails to firmly attach the pieces. Walls should be square, so checking the angle is very important. Raise each wall and secure it to the foundation with strong fasteners.
Moving to the roofing, choose a style that complements the overall shed design. A simple gable roof is often popular for a gardening shed. Once again, refer to your plans for precise measurements. Install rafters or trusses to form the roof’s shape. After that, lay down plywood sheathing to create the roof’s surface. Finally, protect your shed with shingles, metal roofing, or other materials that fit your aesthetic preferences. Be sure to follow the manufacturer’s instructions when applying roofing materials.
The next task involves siding. Depending on your preferences, you might select plywood, vinyl, or wood siding for the exterior. Each option carries its own advantages and disadvantages. For a wood shed, consider using cedar for a natural look. As you apply the siding, work from the bottom up for better water resistance. Attach it firmly to the wall frames, ensuring it fits snugly. Check your shed plans to maintain consistency in exterior design.
Throughout this process, remember the tools for building a shed will be essential. Basic tools include a saw, hammer, level, measuring tape, and drill. These tools will help you create an effective and sturdy structure. Be patient as you work through each step. Following your plans accurately and taking your time will yield satisfactory results.
Finishing Touches and Organization
After you have finished building your DIY shed, it’s time to add the final elements. Painting is one of the simplest ways to make your structure stand out. Choose a color that matches your house or reflects your personality. This adds character and protects the shed from the elements.
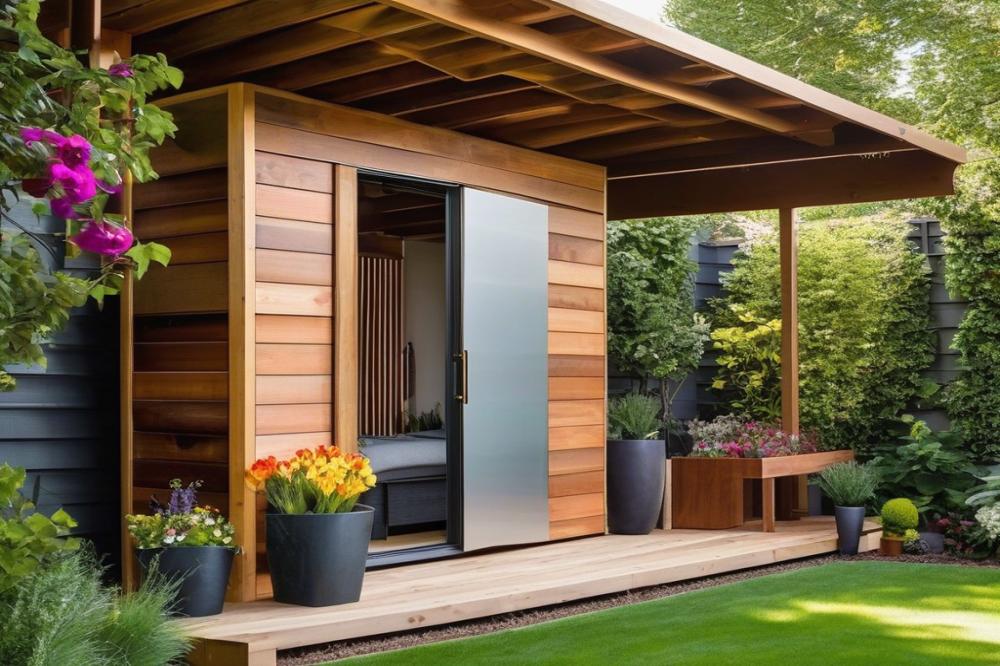
Installing windows can bring in natural light. Consider options that fit your shed plans, like skylights or traditional windows. If your goal is a gardening shed, windows can also help with ventilation, which keeps plants healthy. Additionally, don’t forget about doors. A solid door will keep your tools secure, while a sliding one can be practical in tight spaces.
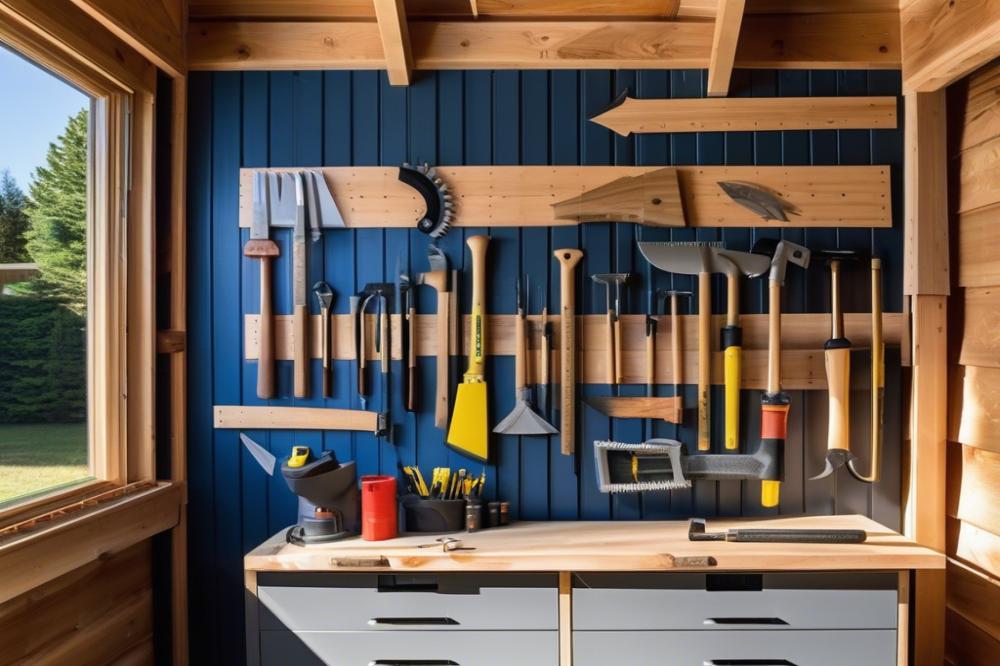
Once everything is set visually, start organizing the interior. Tools for building a shed should have designated spaces to avoid clutter. Shelving units or pegboards can help manage your outdoor storage effectively. Think about adding hooks for gardening tools, a workbench for small repairs, and cabinets for supplies. The more organized your shed is, the easier it will be to find what you need.
With your shed design finished, maintaining it becomes important. Regular check-ups help keep the structure in good shape. Inspect the shed foundation occasionally for any signs of shifting or damage. Look for cracks or rotting wood that could affect its lifespan.
Cleaning your shed regularly is crucial too. Dust and dirt can accumulate quickly, especially if you use it often. Wipe down surfaces, sweep the floor, and remove any debris. If you notice any damage, take action right away to prevent larger issues.
By keeping these tips in mind, you can ensure your wood shed remains a functional and appealing space. Managing maintenance and organization can transform a simple structure into a valuable extension of your home.
Wrapping It Up
Building your own shed can be a rewarding experience. This project allows you to gain new skills while creating a space that fits your needs. We covered important steps, from planning and gathering materials to the actual construction process. By following proper shed plans, you can visualize your end goal, which simplifies the entire task.
Confidence is key. Many worry about their ability to succeed. Remember, most tools are user-friendly, and resources are widely available. Mistakes may occur, but they can teach valuable lessons. Each error brings you closer to mastering the craft.
Completing a DIY shed gives you a sense of achievement that store-bought options cannot replicate. It offers you a personal touch, something uniquely yours. Moreover, having a dedicated area for storage or hobbies can enhance your property’s functionality. Just think of the extra space you’ll create.
In conclusion, embrace the challenge ahead. Not only will it help you develop practical skills, but it will also bring satisfaction for years to come. So gather your tools and get started on this fulfilling journey of building your own shed!

