Constructing a storage shed: A Guide to Outdoor Storage Solutions
Outdoor storage solutions play a vital role in managing clutter and maximizing space around the home. Many people struggle to find a suitable location for tools, lawn equipment, and seasonal decorations. A well-designed storage shed can provide the perfect answer to this common issue. This type of construction not only helps keep your yard tidy but also gives you a dedicated workspace for DIY projects.
Storage sheds offer versatility, serving many purposes beyond mere storage. Homeowners can use them for gardening supplies, workshop areas, or even as play spaces for children. Those who enjoy home improvement will find that having a designated area can make projects easier and more enjoyable. When considering shed plans, one quickly realizes the variety of designs and layouts available to suit individual needs.
This article aims to provide a straightforward guide for constructing a storage shed with minimal tools. Readers will discover how to choose appropriate building materials, prepare the site, and follow step-by-step instructions. By utilizing simple tools, anyone can create a cost-effective solution to outdoor storage without overwhelming financial or time commitments. Jumping into this project promises to be fulfilling and practical—making your outdoor space more organized and functional.
Understanding Storage Sheds
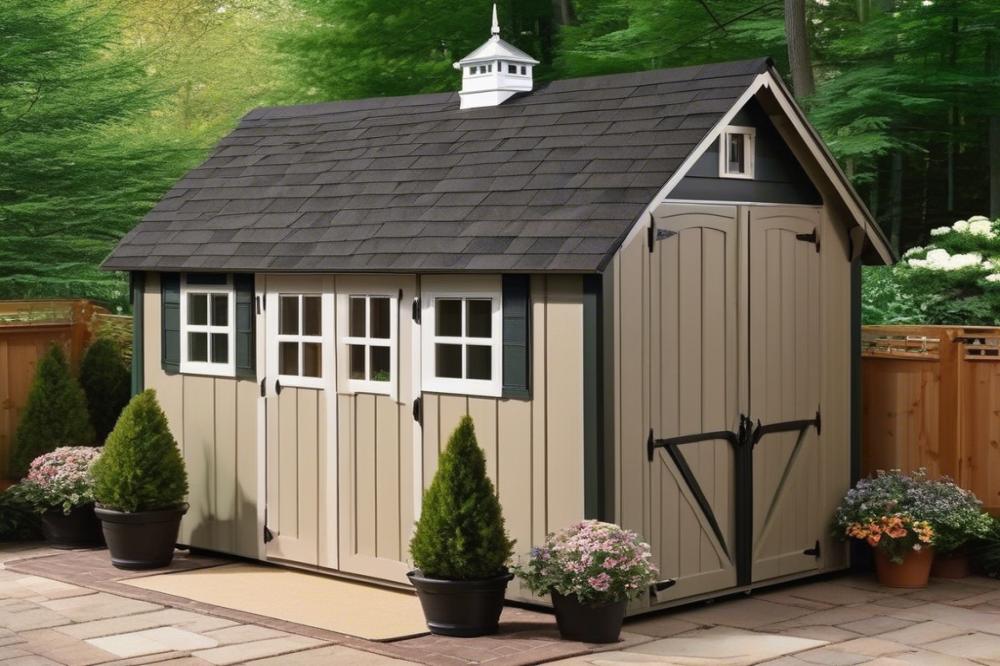
A storage shed serves a straightforward purpose. It provides a dedicated space for outdoor storage. Homeowners often use it to keep tools, gardening supplies, and seasonal items organized. By having this designated area, people can declutter their yards and garages.
Definition and Purpose of Storage Sheds
This structure is essentially a small building designed for storing various items. Whether made of wood, metal, or plastic, sheds offer protection from the elements. They help keep belongings safe and accessible, which is ideal for anyone who enjoys outdoor activities or gardening.
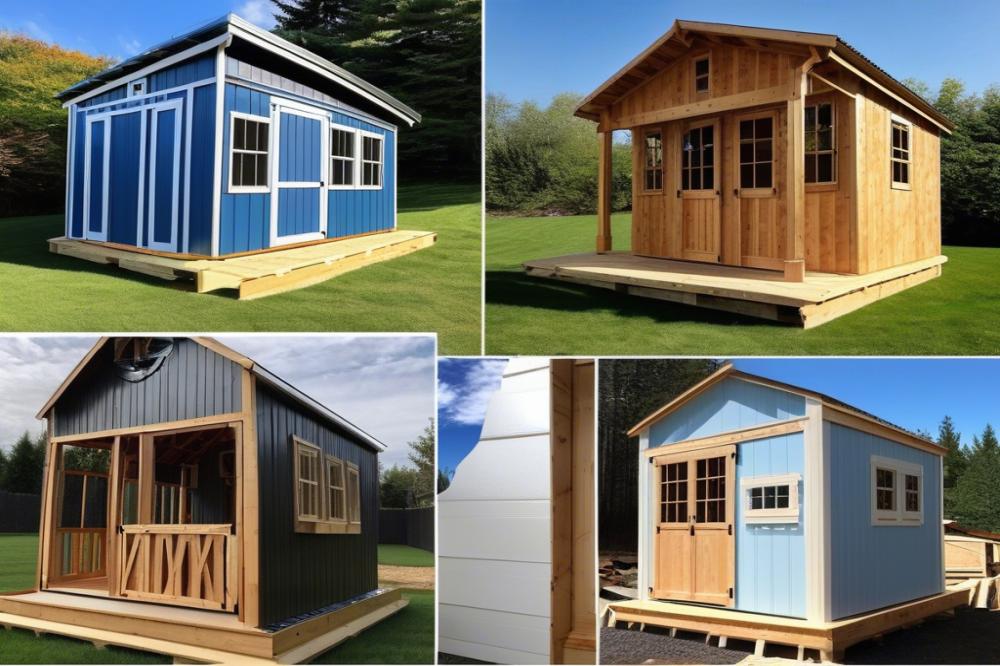
Different Types of Sheds
There are several types of sheds, each serving a specific need. A garden shed is often used for tools and plants. These sheds typically have shelving and workspaces for horticultural projects. Another popular option is a workspace shed. These structures offer a quiet place for hobbies like woodworking or crafting, making them versatile additions to your property.
Benefits of Building a Storage Shed for Home Improvement
Constructing a shed can significantly enhance your home. With added storage, outdoor areas become cleaner and more organized. People often find that having extra space helps them maintain their properties better. For those who enjoy DIY projects, building a storage shed can also be a fulfilling experience.
Cost-Effective Advantages of DIY Shed construction
Choosing to build your own shed can save money. DIY projects reduce labor costs, and you can select building materials that fit your budget. Following simple shed plans allows anyone to construct a quality storage solution. Moreover, using minimal tools makes the project even more approachable. Overall, the cost-effective nature of DIY construction makes it an attractive option for homeowners looking to improve their homes.
Planning Your Storage Shed
Choosing the Right Location for Your Shed
Picking the right spot for your shed is essential. Look for a flat area that drains well. Avoid places where water can collect, as this can damage your building over time. Think about accessibility, too. You’ll want to reach it easily for loading and unloading. If you’re using it as a workspace, consider nearby power sources. Proximity to your garden will also make outdoor storage more efficient.
Creating Simple Shed Plans: Dimensions and Design
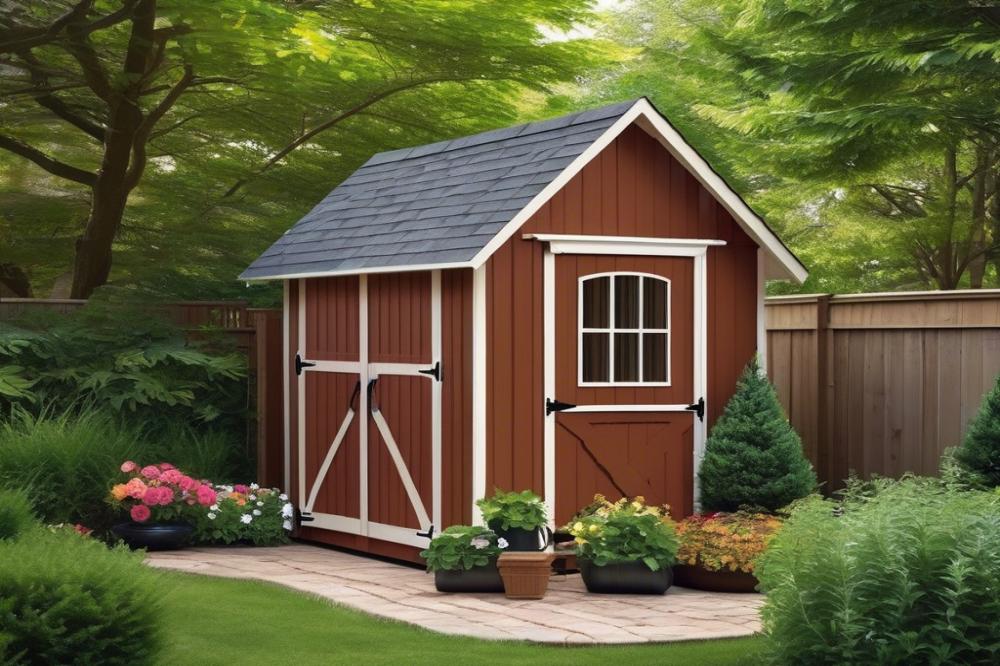
Drafting simple shed plans is straightforward. Start with basic dimensions that fit your needs. A common size is 8 feet by 10 feet, but you can adjust it according to your storage requirements. Sketch out the design on paper or use simple software. Keep the design practical for your skill level and available resources. If you plan to store larger items like tools or bicycles, allow extra space. Think about simple features like windows for natural light or shelves for organization.
Selecting Appropriate Building Materials for Durability and Cost-Effectiveness
Choosing the right building materials will impact both durability and cost. Look for wood that is resistant to rot, like cedar or pressure-treated lumber. These will withstand outdoor conditions better. For roofing, consider asphalt shingles or metal, as they offer longevity. If you’re on a budget, recycled materials can also be useful. They provide a unique look and save money. Keep in mind that while you want affordable options, low-quality materials may cost more in the long run.
Importance of Research in Understanding Local Regulations and Permits
Before starting construction, research local regulations and permits. Some areas require building permits for structures like a garden shed. Failing to comply can lead to fines or removal. Check zoning laws, too, as there may be restrictions on size and placement. Consulting with your local council can provide clarity. Understanding these requirements prevents future issues and keeps your DIY project legal and secure. Follow these steps to simplify your home improvement journey.
Essential Tools for Minimal shed construction
Building a DIY storage shed does not require a lot of equipment. Simple tools can make the job manageable for anyone interested in home improvement. Here’s a list of essential tools that will help you through the construction process.
List of Simple Tools Required for the Project
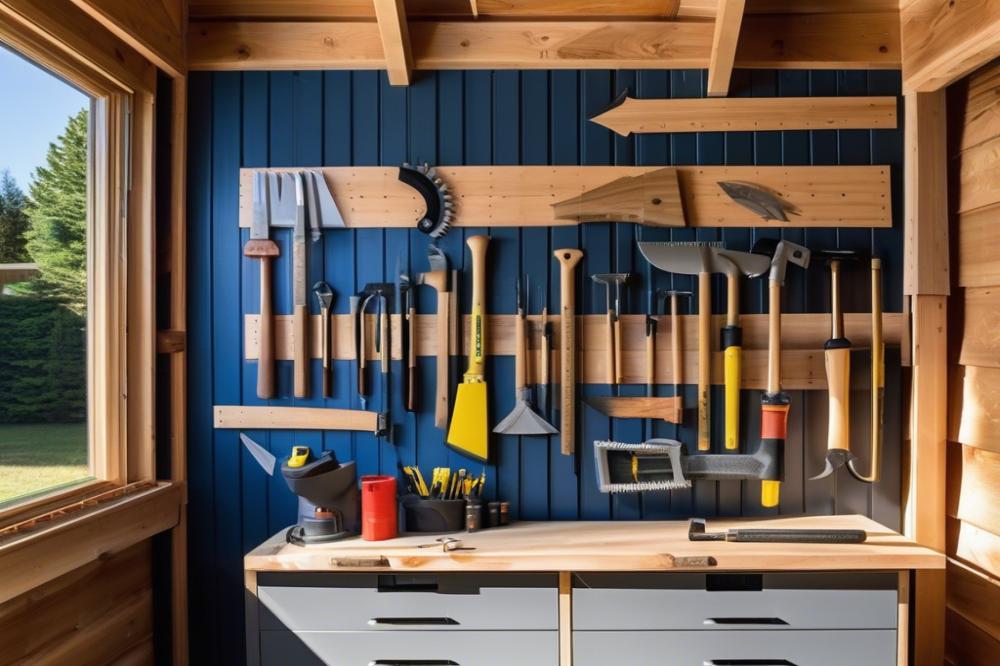
Your toolkit should include the following items:
- A measuring tape will help you get accurate dimensions for your building materials.
- A level ensures that everything is even and properly aligned.
- A hammer will be essential for driving nails into wood.
- A handsaw is necessary for cutting your materials to the right sizes.
- A square will assist in making sure your angles are right.
- Screws and a screwdriver provide secure fastening options.
Tips for Using Minimal Tools Effectively
Utilizing fewer tools doesn’t mean compromising on quality. Maintain a clean workspace to keep all your items organized. This will help you avoid wasting time searching for a tool. Mark your measurements clearly on the building materials to prevent mistakes. Working carefully helps reduce the need for repetitive cuts or repairs.
Ideas for Borrowing or Renting Tools to Save Costs
One cost-effective way to acquire tools is through borrowing from friends, family, or neighbors. Most people are willing to lend tools if you ask nicely. If borrowing isn’t an option, look for rental services at local hardware stores. Renting tools for a day or two is often cheaper than purchasing. Check online marketplaces and community groups where you might find tools available for loan or rental without high fees.
Safety Considerations While Using Tools
Safety should always be a priority when working with tools. Wear proper eye protection to prevent debris from causing injuries. Ensure you follow the instructions for each tool, as improper use can lead to accidents. Keep your workspace free from clutter to reduce trip hazards. If you’re new to using any tool, take a moment to read resources or watch videos that provide guidance on safe usage.
Step-by-Step Guide to Building Your Storage Shed
Preparing the Site and Laying the Foundation
First, select a location in your yard. It should be a flat area away from overhanging branches. Clear the ground of any grass, rocks, or debris. This step is essential for a stable base. Next, lay out the dimensions of your shed using stakes and string. Mark the corners clearly for accuracy. You can choose a concrete slab, gravel, or wooden skids for the foundation. Each option has different costs and benefits. Concrete provides a solid base, while gravel can be more cost-effective and simple to install.
Constructing the Frame: Walls, Roof, and Floor
Start with the floor. Use pressure-treated lumber for durability. Construct the frame, ensuring it is square and level. Afterward, attach the plywood sheets for the floor surface. Building walls comes next. Cut the studs according to your shed plans and assemble them. Nail them to the floor frame firmly. Make sure the walls are vertical. Reinforce corners with additional support. The roof structure requires careful planning too. Decide whether you want a flat or sloped roof. Trusses can simplify this process. Attach plywood or metal sheeting to serve as your roof surface.
Installing Doors and Windows for Accessibility and Ventilation
Doors and windows add function and style to your outdoor storage. Choose the location for the door wisely. It should be on the side you access most. A simple hinged door can be made from plywood. Cut the door frame and attach it securely. Windows can bring light inside, making it easier to see items. Install window frames and choose either fixed or sliding windows. Consider small vents for airflow. Proper ventilation prevents mustiness in your workspace.
Finishing Touches: Painting, Organizing, and Securing the Shed
Now that the structure is complete, add a personal touch. Paint the exterior to protect against the weather while improving aesthetics. Choose a color that complements your home. Inside, organizing your tools and equipment is vital. Use shelving units or hooks to maximize space. Securing your shed is essential for safety. Invest in a good lock for the door. Check windows and doors to make sure they close properly. These finishes will help maintain your shed and keep your belongings safe.
Maximizing Your Storage Shed
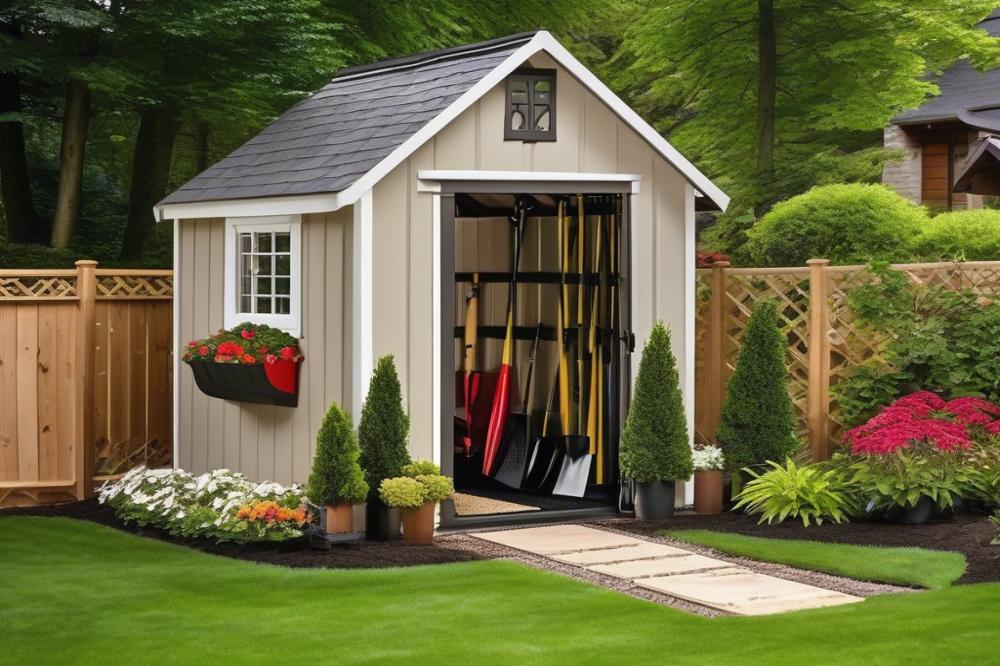
Ideas for Organizing Outdoor Storage Effectively
Creating an efficient organization system is vital. Start by categorizing items. Gardening tools, sports equipment, and seasonal decorations can have their own designated spaces. This strategy saves time spent searching for what you need. Also, consider using clear storage bins. These allow you to see contents without opening each one. Labeling bins can further streamline access to items, making outdoor storage hassle-free.
How to Design Your Shed for Multifunctional Use
A garden shed can serve various purposes. Imagine crafting a workspace within it. Think about including a small desk for DIY projects. Prioritize plans that include flexible layouts. By doing this, one can adapt the space as needs change. You might even incorporate a potting station for plants. Planning for different uses will increase its value and functionality.
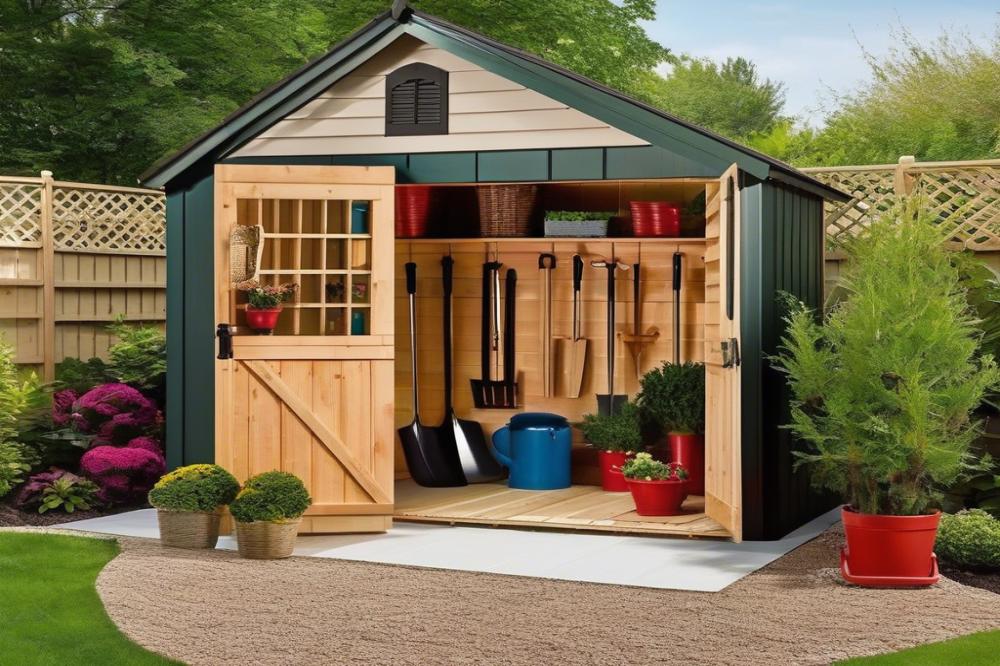
Incorporating Shelving, Hooks, and Storage Bins
Adding shelves maximizes vertical space effectively. Adjustable shelving can accommodate items of various sizes. Hooks can be used for hanging tools and equipment. This keeps everything off the ground and organized. Small, clear bins work well for loose items like screws or seeds. Positioning these items thoughtfully creates a tidy environment.
Maintenance Tips to Prolong the Life of Your Shed
Upkeep is essential for longevity. Regularly check for signs of damage or wear. Inspect the roof and walls for cracks or leaks. Clean the interior occasionally to prevent dust buildup. Use weatherproof paint to protect exterior surfaces from the elements. Keeping hinges lubricated will ensure doors function smoothly. By taking these steps, you can maintain the quality of your construction and extend its life.
Final Thoughts on Your DIY Project
Building a shed can seem daunting at first. By focusing on a few key points, the process can turn into a rewarding experience. Start by planning your design carefully. A simple layout will allow for easier construction and quicker assembly. Choose quality materials that fit your budget while still providing strength and durability. This choice affects both the longevity and appearance of your project.
Stay organized as you work. Having the right materials laid out before you saves time and frustration. Using minimal tools doesn’t mean cutting corners. It just requires creativity and good planning. Remember, taking your time will lead to better results. Measure twice, cut once. This saying holds true and will help avoid mistakes.
Every DIY builder can take pride in completing a project. There’s a unique sense of satisfaction that comes from building something with your own hands. Enjoy the process and learn from each step. Each challenge faced helps build skills and confidence. This shed is not just a storage area; it’s a testament to your hard work.
Embrace the journey of creating your own outdoor solution. You may find that this experience ignites a passion for future projects. Whether it’s small repairs or larger builds, every task enhances your understanding and expertise. So gather your tools, and get started on your next DIY adventure. The fulfillment from seeing your finished work is worth it!