Step-by-Step Guide to Constructing a lofted barn shed
Overview of lofted barn sheds
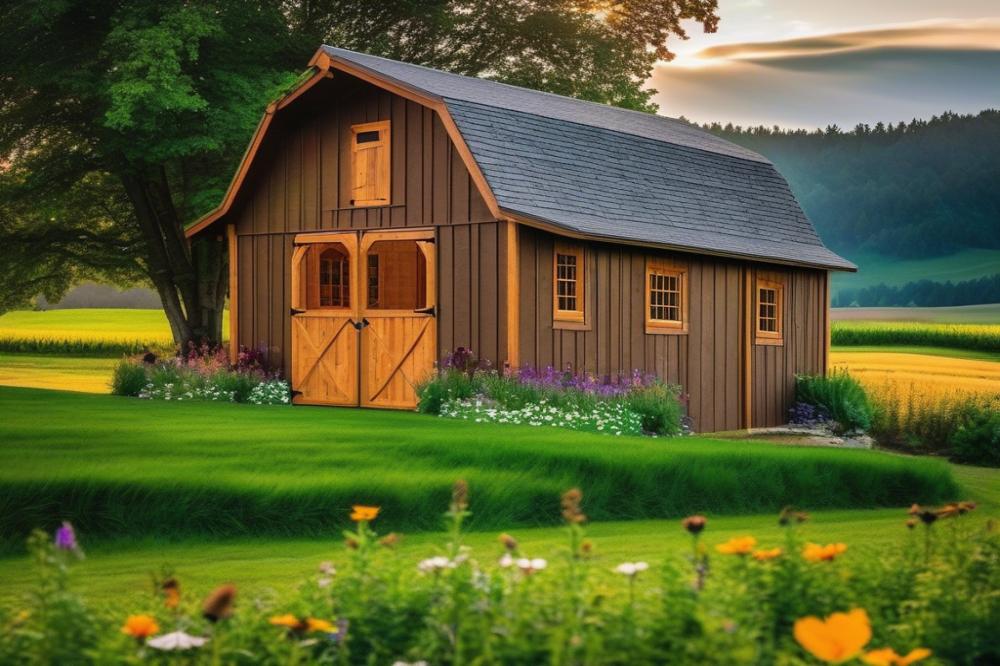
Lofted barn sheds have gained popularity for their practical design and rustic charm. These structures provide ample storage space, especially for those with outdoor equipment, gardening tools, or seasonal items. Many homeowners appreciate the aesthetics that a barn design brings to their property. The raised loft area gives you extra room without requiring a larger footprint, making it a wise choice for small yards.
Benefits of Building a Storage Shed
Constructing a shed can greatly benefit anyone in need of outdoor storage. A lofted barn offers space for organizing belongings efficiently. Items stored in a shed remain protected from the elements, which extends their lifespan. Additionally, a well-planned layout can include ventilation and insulation, ensuring temperature control. Using dual-purpose design helps maintain the beauty of your yard while maximizing utility.
Embracing DIY and woodworking
Many at-home builders are drawn to the idea of DIY projects, and constructing a lofted barn shed can be a rewarding experience. It allows homeowners to connect with woodworking as they select building materials and tools needed for the task. From cutting beams to assembling walls, each phase of construction steps contributes to a sense of accomplishment. No prior experience is required, just a willingness to learn and create. If approached carefully, shed construction can transform your outdoor space while enhancing skills and confidence in building.
Understanding the Lofted Barn Shed
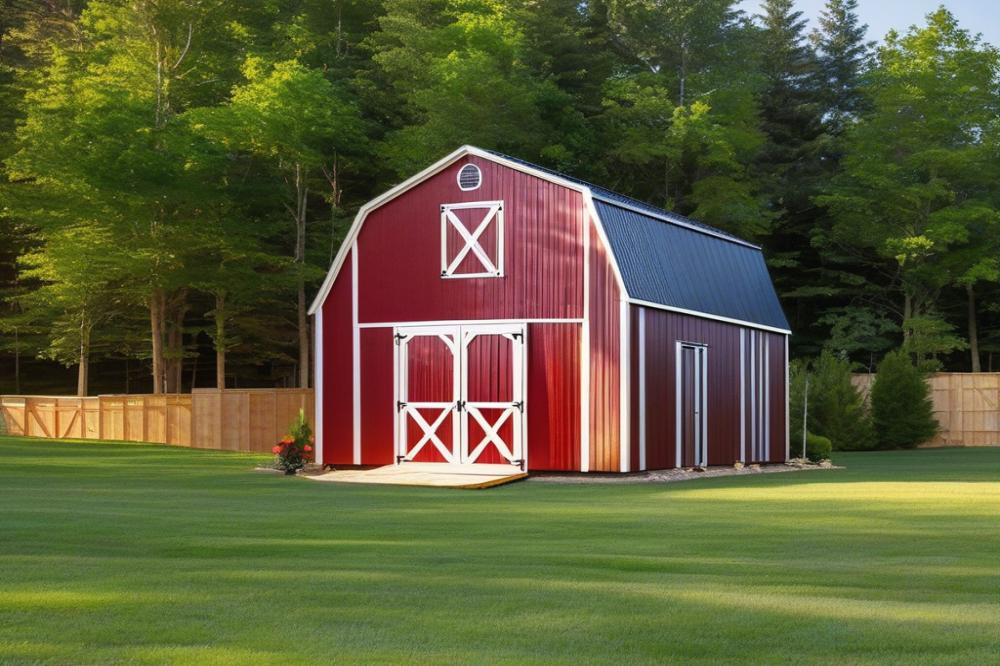
A lofted barn shed is a popular choice for many homeowners looking for additional space. This type of structure features a raised loft area that provides extra storage. Many models have high ceilings and a wide, open floor plan. These features allow for better organization of tools and other items. A well-constructed lofted barn shed can also offer a rustic charm that appeals to a variety of tastes.
When compared to traditional sheds, barn designs have distinct advantages. The loft creates room for more items without needing a larger footprint. Standard storage sheds typically have limited vertical space. With a barn-style shed, everything remains accessible and organized. Not only does this design maximize space, but it also enhances functionality. Roof slopes guide rain away, reducing maintenance needs over time.
Common uses for these structures include outdoor storage for gardening tools, furniture, or recreational equipment. They can serve as workshops for DIY and woodworking projects. Additionally, some people convert them into craft studios or even small offices. The versatility of a lofted barn shed makes it an ideal solution for many unique needs.
Ventilation is another important aspect of these sheds. Proper airflow helps protect materials and tools from moisture. Insulation may also be added for temperature control. Depending on your climate, this can make working inside more comfortable year-round. Choosing the right building materials will affect the overall durability and appearance of the shed. Always consider the climate in your area before beginning construction.
Planning the construction steps carefully can save time and effort. Gather all tools needed before starting the project. A level, hammer, saw, and drill are essential for building this structure. Once everything is in place, you can begin creating a functional space that suits your lifestyle. The rewarding feeling of completing such a project is truly unmatched.
Planning Your Lofted Barn Shed

Begin by determining the size and layout suitable for your needs. Think about the purpose of your storage shed. Will it hold garden tools, seasonal items, or perhaps outdoor furniture? This focus will guide your dimensions. Create a rough idea of the space available in your yard. Measure the width and depth of the area where you plan to build.
As you make decisions about the size, consider local building codes and permits. These rules vary greatly by location, so check with your municipality. Ignoring these regulations could lead to fines or the need to tear down your construction later. Understanding the regulations also helps you choose the right barn design. Compliance may affect the height or total area of the project, so be thorough.
Sketching a design serves as a valuable first step. Don’t worry about artistic flair; focus on functionality. Draw your shed with dimensions, doors, and windows outlined clearly. Incorporate features such as ventilation and insulation, as they enhance the structure’s usability. Creating a materials list will follow this sketch. Document the building materials you will need, including wood, nails, and roofing supplies. Make sure to factor in tools needed for your DIY project, like saws, drills, and safety gear. This preparation saves time and money down the road.
Tools Needed for Construction
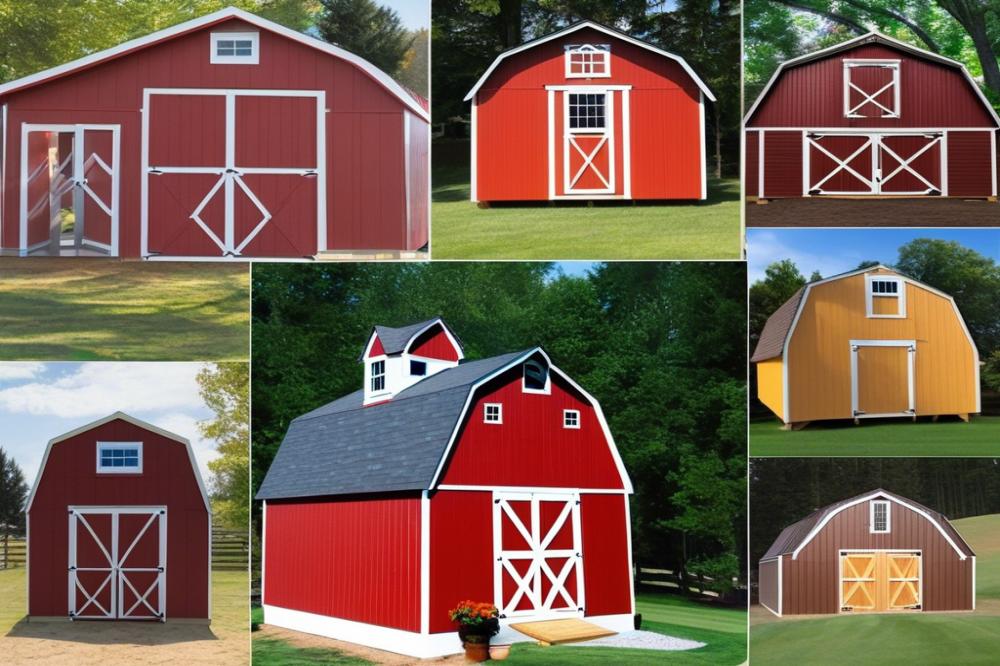
When building your lofted barn shed, having the right tools is essential. First, let’s discuss the basic tools needed for the job. You will need a hammer, a tape measure, and a level. Power tools like a circular saw or a drill can speed up the process. In woodworking, having sharp blades and a sturdy workbench makes a significant difference. A square will help keep your angles accurate. Also, don’t forget about a ladder for reaching high places during construction steps.
Safety Equipment and Practices
Safety should never be overlooked when working on DIY projects. Always wear safety goggles to protect your eyes from flying debris. Heavy work gloves help prevent cuts and splinters. Ear protection is important when using loud power tools. A dust mask can guard against inhaling sawdust, which isn’t good for your lungs. Before you start, familiarize yourself with your tools. Knowing how to use each one safely can prevent accidents. Finally, keeping your workspace organized is a key safety practice, helping avoid trips and falls.
Specialized Tools for Efficiency
Certain tools can enhance your building experience when constructing a barn design. A miter saw provides precision cuts on wood pieces. Using a pneumatic nail gun saves time and effort compared to hammering nails manually. For those considering ventilation options, a jig saw can help cut openings quickly and cleanly. Cordless tools add convenience, allowing you to move freely without being tethered by cords. Additionally, a framing square assists in laying out your structure correctly. These specialized tools make the construction process smoother and more enjoyable.
Incorporating insulation will keep your storage shed comfortable throughout the year. A stud finder can help locate beams, making installation easier. If you plan to add shelves, a level is indispensable to ensure everything is straight. Consider gathering all your building materials beforehand, which minimizes interruptions. Remember, thoughtful preparation leads to a successful project. Having the right tools for your lofted barn shed will make the entire process more manageable.
Building Materials for a Lofted Barn Shed
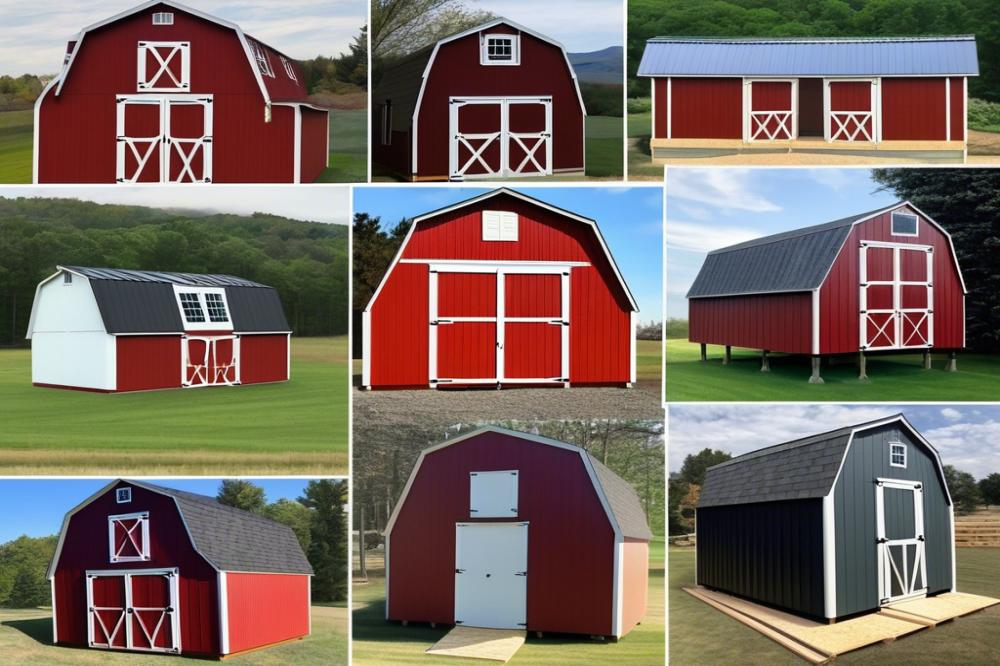
When crafting a storage shed, choosing the right building materials is essential. Most wooden structures use specific types of lumber. Common choices include pine, cedar, and plywood. These materials work well for the frame and walls. Cedar often resists rot better than other woods. However, it also comes with a higher price tag. Pine is more affordable but may require additional maintenance over time. Plywood offers versatility and strength. Using it for sheathing can provide a solid base.
Alternate materials are available for those looking for something different. Metal panels can create a modern look. They often last longer but can be noisier during rainstorms. Composite materials are also gaining popularity, especially for the environmentally conscious. These can reduce maintenance because they resist fading and pests. When evaluating durability, consider where you live. If environmental factors like moisture or termites are a concern, some materials may outperform others.
Cost can significantly affect your project’s budget. Lumber prices can fluctuate, affecting overall expenses. Shops often run sales or offer discounts for bulk purchases. Remember to factor in the cost of additional materials, like insulation and ventilation systems. Insulation helps keep outdoor storage spaces comfortable year-round. It can also influence the kind of wood you select, as some materials work better with insulation than others.
Finding reliable sources for your materials is key. Local hardware stores often have the essentials, but specialty lumberyards might provide better quality. Online retailers and marketplaces can also be helpful for rare items. Be sure to compare prices; sometimes, shipping costs can add up. Planning ahead with a budget can make choosing the right tools easier. Sketching a rough design can help visualize what you will need.
Think about the construction steps as part of your plan. Each choice contributes to the final result. Having a clear idea of your barn design before buying materials will save time. Make a list, and check it twice. Understand what you need versus what you want. Focus on functionality as well as aesthetics. This way, your lofted barn shed will meet your needs without breaking the bank.
Construction Steps
Building a lofted barn shed can be an exciting DIY project. It provides excellent outdoor storage space and can complement your garden beautifully. This guide covers important construction steps to help you through the process.
Foundation Options and Framing Techniques
The first step involves deciding on a solid foundation. A concrete slab offers durability and strength. Alternatively, wooden skids placed on leveled ground can serve as a simple base. Select materials based on your yard’s conditions. Wooden beams may also be used for a frame, creating a strong skeleton for your shed. Use pressure-treated lumber to resist rot and decay.
Next, assemble the walls using 2x4s. Cut them to the desired height for your barn design. Connect these pieces with nails or screws for stability. Framing allows room for windows and doors. Consider where you want these openings placed. Ventilation is a key factor in preventing moisture buildup.
Roof Installation and Loft Construction
The roof requires special attention. Choose a gable or shed style based on your preference. Begin by installing the rafters, sloping them to encourage rain runoff. Secure them with brackets for extra support.
Creating a loft space is essential for maximizing storage. Use 2x6s to form the loft floor. Support these boards with vertical posts. Make sure everything is level to avoid structural issues. Insulation can be added between the rafters. This will help maintain temperature, especially in extreme weather.
Adding Doors and Windows
Installing doors and windows brings light and accessibility to your space. For doors, consider double doors for easy entry of large items. Frame the door with care to ensure it swings open smoothly. Windows can be either fixed or operable. Choose sizes that fit the style of your shed.
Ensure proper sealing around frames. This prevents water from entering and damaging your woodworking. Use weatherstripping to close gaps. Painting or staining the exterior not only improves appearance but also protects the wood.
Ventilation and Insulation
Good ventilation plays a crucial role in a lofted barn shed. Without proper airflow, moisture can build up, leading to mold and damaging the structure. This is especially important for woodworking projects and outdoor storage. Well-placed vents can help air circulate. Gable vents or ridge vents are recommended for a barn design. Installing these at the peak of the roof allows warm, humid air to escape naturally. Consider adding windows that can open for more airflow during warm weather. This combination keeps the interior of the shed dry and healthy.
Following best practices for insulation is vital too. Adequate insulation keeps temperatures more comfortable year-round. Fiberglass batts or foam boards can be effective options. When choosing insulation, look for materials that offer good thermal resistance. Ensure you insulate the walls and ceiling, as heat rises. Sealing gaps reduces air leaks, enhancing comfort and efficiency. Reflective insulation can also be considered if you live in a very hot area. Along with these methods, using vapor barriers helps keep moisture from affecting your wooden structure.
If you need to control the temperature more precisely, consider heating and cooling options. Small space heaters are practical for winter use. For warmer months, think about small fans or portable air conditioning units. This helps maintain a nice environment for any projects inside. If you want a more permanent solution, think about installing a mini-split system. Keep in mind that your choice may depend on how you plan to use your shed. Regardless of the method, plan for the tools needed to install these systems safely.
Finishing Touches
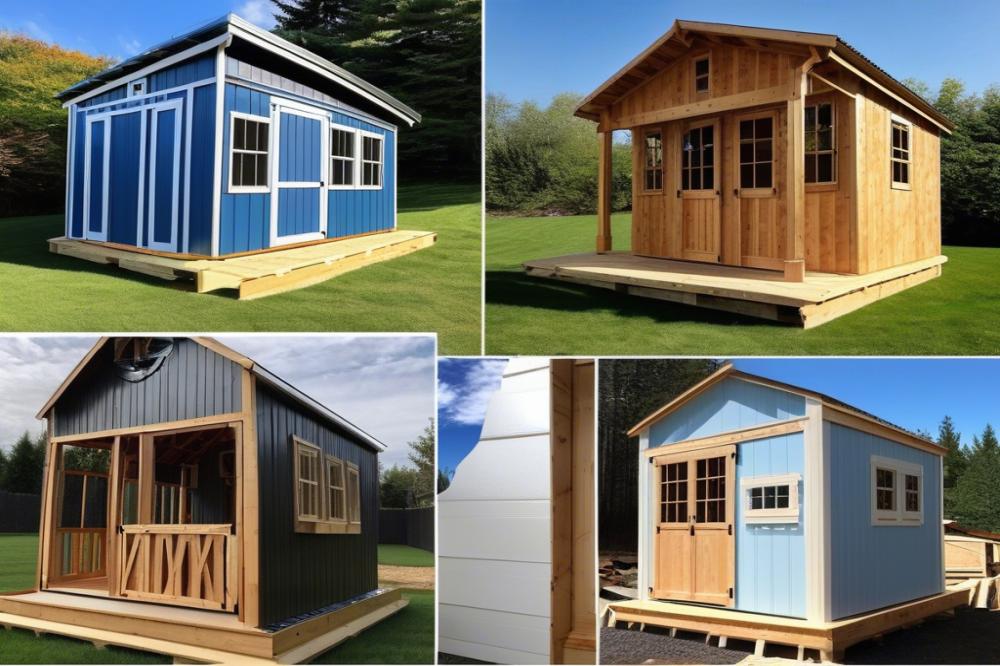
After completing the main structure, it’s time to add the final details that will make your DIY storage shed visually appealing and practical. Painting and staining can greatly enhance the look of your lofted barn shed. Choose a color that matches your home or complements the landscape. A good quality outdoor paint or stain will also provide protection against the elements. This is crucial for the longevity of your shed.
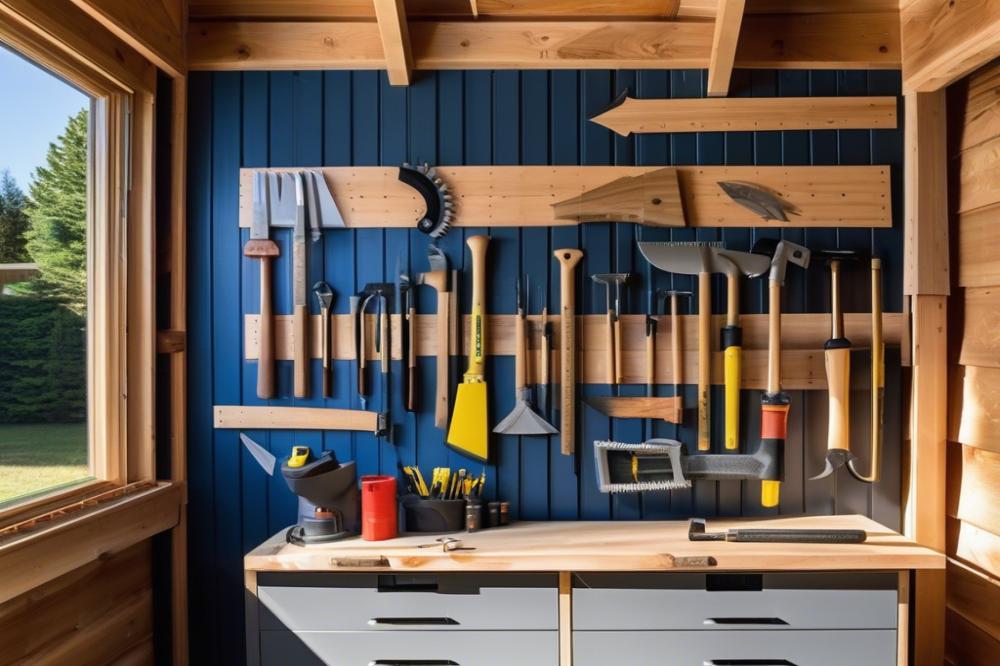
Organization plays a vital role in maximizing space inside your shed. Start by assessing what items you plan to store. Consider using shelves and hooks. These can be easily mounted on the walls to keep tools off the floor. You might also want to install pegboards for smaller items. This allows easy access while keeping everything neat.
Additional Features
Think about adding workbenches to your plans if you enjoy woodworking or need a space for projects. Workbenches are useful for various tasks and can double as extra storage. Using sturdy materials will help them withstand heavy use. You can also look at other features, such as a small loft area for seasonal items or decorations.
Ventilation and insulation are important for maintaining a comfortable environment in your shed. Ensure there are openings or windows to allow airflow. This is essential, especially if you plan to work in the shed. Adequate insulation will help regulate temperature, making it easier to work year-round.
Consider using clever arrangements for outdoor storage. A well-planned barn design can leave room for larger items like lawnmowers or bicycles. The right layout will make it easier for you to find what you need without a hassle. Each modification adds to the functionality that a well-constructed shed should offer, making your work efficient and pleasant.
Wrapping Up Your Lofted Barn Shed Journey
Constructing a lofted barn shed offers many advantages. Extra storage space can help organize your belongings and create a cleaner environment. This type of shed can also serve as a workshop or a garden center, making it versatile. Flexibility in design allows you to customize the structure to fit your needs and tastes.
For anyone who enjoys DIY projects, this endeavor can be both satisfying and educational. The process of building teaches valuable woodworking skills while providing a sense of accomplishment. Completing this project also gives you a unique structure that enhances your property.
In the end, your new outdoor storage solution is more than just a shed; it’s a space you can personalize and enjoy. Picture yourself utilizing the area for your hobbies or your garden supplies. Relish the satisfaction of knowing you built it with your own hands. Dive into this rewarding project, and see what you can create!

