Introduction
Building a shed can be an exciting project, but constructing one on challenging terrain adds complexity. When setting out to create a DIY shed, careful planning becomes essential, especially in sloped areas. Each slope presents its own unique challenges that need to be addressed during the early stages of site preparation. Ground leveling, drainage management, and choosing the correct shed foundation are just a few considerations that come into play.
One of the first hurdles faced is ensuring proper leveling. A well-leveled foundation is vital for stability. Without it, the structure could easily settle unevenly over time. Proper drainage measures must also be in place to prevent water accumulation, which can undermine the stability of the shed. Tools like levels, measuring tapes, and shovels will be necessary for this phase of construction. Choosing the right building materials can also impact both durability and safety.
Landscaping around the shed area is another crucial aspect. It’s more than just aesthetics; good landscaping will help with drainage and reduce erosion around your structure. Taking the time to plan and construct the foundation correctly can lead to long-term benefits, saving time and effort later on. With these construction tips in mind, you’ll be better equipped to handle the intricacies of a shed on a slope.
Understanding the Slope

A slope is an incline or decline of the land. Different types of slopes can affect how a shed is built. A gentle slope might not cause major issues, but a steep one presents significant challenges. Grading and leveling will require careful attention. Understanding the specifics of your land is key to a successful project.
There are many considerations when dealing with slopes. The most common types include mild slopes, moderate slopes, and steep slopes. Each type affects how drainage works around your shed foundation. A proper drainage system is crucial to prevent water from pooling under your structure. Water damage can weaken the walls and floor of your shed over time.
Before starting your project, analyze the slope carefully. Tools like a level, measuring tape, and laser levels will help you assess the degree of the incline. Site preparation is essential, as it sets the stage for the entire build. Laying out a plan that considers the slope will save time and resources later on.
Landscaping may also be needed depending on the slope. Terracing or creating swales can redirect water flow. These additional steps can aid in proper drainage, protecting your DIY shed from moisture-related problems. Building materials must also be chosen with care, as some are more resilient to moisture than others. Consider the foundation type as well; a floating foundation might work better in sloped areas.
Construction tips should also involve the slope’s influence on your structure. When the land is not level, be cautious with the framing. Structural integrity could be compromised if not addressed correctly. Installing piers or adjustable post supports can help maintain stability. With a solid plan and understanding of your specific slope, you can overcome the challenges of building a shed.
Site Preparation for shed construction

Preparing the site on a slope requires careful attention. First, clear the area of any vegetation, rocks, or debris. This step is vital for creating a safe and usable space. Use tools like shovels, rakes, and perhaps a small chainsaw if necessary. Make sure you have a clean workspace before starting any construction.
Next, measure the angle of the slope. This helps in understanding how to create a stable shed foundation. You can use a level or a slope meter to assess the gradient. Knowing the angle will assist in selecting the right techniques for leveling. An accurate measurement will guide you as you plan your construction.
Marking the location for your shed follows. Use stakes and string to outline the perimeter of your future DIY shed. This allows for a visual representation of the space you are working with. Additionally, consider how drainage will affect your structure’s durability. Proper drainage can prevent water from pooling under the shed, which is crucial for long-term stability and maintenance.
Create a level area within the marked space to support your shed construction. Depending on the slope’s steepness, you might need to dig into the higher side and fill in the lower side. This technique aids in making your shed foundation even. Furthermore, check local zoning laws and guidelines before finalizing the location.
After marking and leveling, take a closer look at the surrounding landscaping. Ensure that it complements your shed and enhances drainage around it. This can improve the aesthetics of your yard while also serving a functional purpose. Think about how the structure fits with existing plants and features.
Choosing the Right Shed Foundation

Building a DIY shed on a slope presents unique challenges. One major factor to consider is the shed foundation. Proper leveling is essential to prevent structural issues down the line. Different types of foundations work best depending on the steepness of the slope and the drainage of the area.
Concrete piers are a solid choice for uneven ground. They offer strength and stability while allowing water to flow beneath. These piers can be placed at various heights to create a level platform for your shed. Be sure to dig footings deep enough to prevent settling. Using tools like a post-hole digger will aid in this process.
A post and beam foundation is another effective option. This method involves placing vertical posts directly into the ground. Beams run horizontally to support the shed’s weight. This type of foundation is great for moderate slopes. It helps avoid water accumulation and allows good air circulation.
For a flatter slope, you might consider a skid foundation. This involves placing the shed on skids or runners that sit on the ground. It’s particularly useful for smaller structures and makes relocation simple. When using this type, make sure to account for the drainage. Without proper water flow, wood can rot over time.
Selecting the best foundation type involves assessing both slope and drainage. Examine the site carefully before starting. Look for any areas where water collects after rain. Poor drainage can cause serious problems. It’s wise to clear debris and conduct site preparation in advance. Landscaping can help direct water away from your shed.
Construction tips will also make a difference. Always check for level during installation. Use a level tool to ensure accuracy. This is crucial for the stability of the entire shed. Additionally, research necessary building materials that can withstand your local weather conditions. Choosing quality materials will pay off in longevity.
In summary, identifying the right foundation is key when constructing a shed on a slope. Consider your choices and plan for drainage. This will set you up for success in your project. Taking these factors into account will help you create a sturdy and functional structure on your property.
Leveling Your Shed Foundation

Building a shed on a slope requires careful planning. The foundation is crucial, as it supports the structure. Start with site preparation to identify the highest and lowest points of the area. Mark this out clearly; this will guide the leveling process.
Use a carpenter’s level to check how even the ground is. This tool helps find the discrepancies in height. For longer areas, a string line can help. Stretch the string taut between two stakes set at the same height, and check where the ground dips or rises. You’ll see how much adjustment is necessary.
Once you know the high points, focus on the foundation supports. These might be concrete blocks or piers, depending on what materials you choose. Adjust the height of these supports to create a level base. Each support should be securely placed before moving on.
Washington’s rainy season shows how vital good drainage is. Position your shed so that water flows away, avoiding pooling. Use gentle sloping away from the foundation to direct water. Proper landscaping around your shed also makes a difference in drainage.
Leveling is just one part of the equation. Making choices about building materials affects how well your structure withstands elements. Choose durable materials to help in the long run. Even if building a DIY shed seems daunting, these construction tips will simplify the process.
As you work, regularly check that everything remains aligned. It is easy to get caught up and forget to double-check. Take your time during this phase; small adjustments now can save you big problems later. Each step takes you closer to having a sturdy outdoor space.
With the right tools and some patience, leveling your foundation becomes manageable. Measure twice, cut once applies here too. A little forethought leads to a well-supported shed that lasts through seasons.
Drainage Considerations
Building on a slope can create challenges, especially when it comes to drainage. Understanding how water flows on sloped land is essential. Rainwater will naturally run downhill, which could lead to puddles or flooding around your structure. Without proper drainage, your shed foundation may suffer damage over time. Protecting it from moisture is a key safety measure.
Before you start construction, analyze your site. Observe where water collects and how it moves during heavy rains. This information will help you make informed decisions. Leveling the ground around your shed can greatly aid in controlling water flow. However, just leveling may not be enough on its own.
One effective technique involves creating a drainage trench. This trench should be dug around the foundation at least a few feet away. By directing water away from the base, you can significantly reduce erosion and saturation at the shed’s base. Using pipes or gravel in these trenches can promote better water movement.
Additionally, incorporating landscaping features can enhance drainage. Swales, which are shallow ditches, help redirect water away from structures. Planting grass or shrubs in these areas also minimizes soil erosion. Building a DIY shed means you can design these elements into your overall plan right from the beginning.
As you gather your tools and building materials, don’t forget to include items that will aid in water management. A good quality waterproof membrane can safeguard your foundation. Solid choices for construction include drainage mats, which can help wick away moisture. All these features combined will promote a dry environment underneath your new shed.
Construction tips include ensuring the ground is sloped away from your structure. Create a slight pitch that allows water to flow naturally away from the shed. This small change can make a big difference over time. Keeping an eye on how the landscape compares during rainy seasons can provide vital feedback on your drainage plan.
Every detail matters when tackling a project on uneven land. Water management techniques will help protect your investment. Always remember, a little extra planning can go a long way in maintaining the integrity of your shed for years to come.
Essential Tools and Building Materials
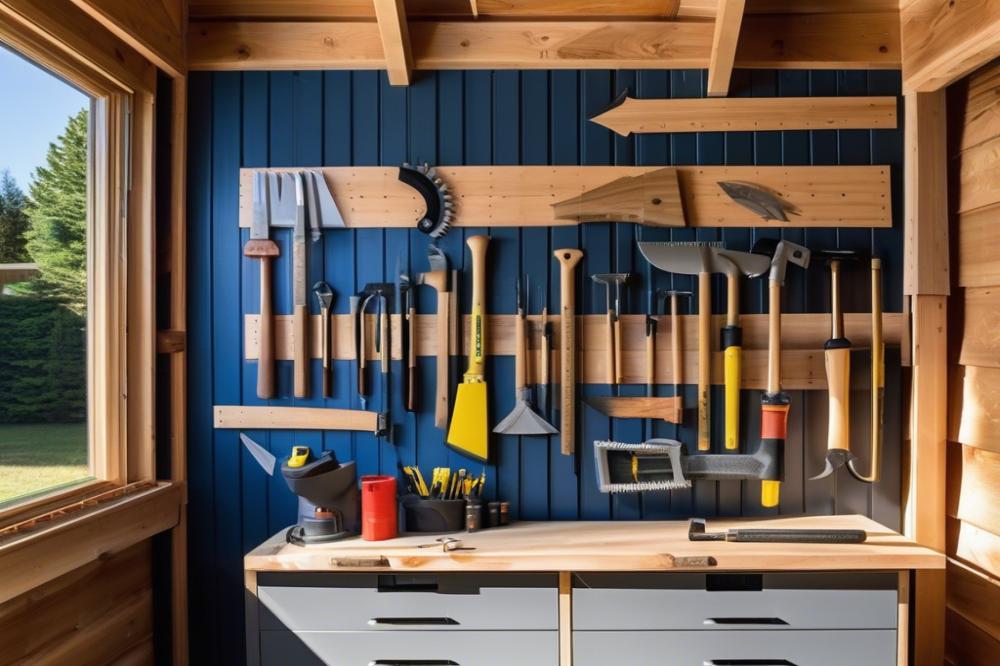
Every DIY shed project requires specific tools for proper construction. A few essential items include a circular saw, a level, a measuring tape, and a framing square. These basic tools will help with cutting wood, ensuring straight lines, and checking for level surfaces. Hammers and screws are also vital for putting everything together securely. A power drill can speed up the process of making holes and driving in screws. Safety gear, like gloves and goggles, is important to protect against potential injuries.
When it comes to building materials, quality cannot be overlooked. Using pressure-treated wood is wise for both durability and resistance to moisture. The foundation of your shed needs to be strong, especially on a slope. Concrete blocks or deck piers might be suitable options for elevating the structure. These choices allow for proper drainage, which is crucial for preventing water issues in the future. Additionally, using galvanized nails and screws will reduce the risk of rust and increase the lifespan of your shed.
Site preparation is another important aspect. Clearing the area of debris and leveling the ground creates a stable base. This step is essential for overall shed stability and longevity. Consider the landscape surrounding the site too; grading can help manage water runoff. A well-thought-out drainage plan prevents any water pooling around the shed foundation. Such measures will save time and effort in the long run, ensuring your shed stands strong against the elements.
Construction tips are beneficial when building on uneven ground. You might want to start with a grid layout to mark where each part of the foundation will sit. This method assists in visualizing how the shed will fit into the sloped area. Additionally, framing should account for additional supports to counteract the angles created by the slope. These adjustments can provide extra stability, especially in adverse weather conditions.
Choosing the right building materials is crucial for a long-lasting structure. Consider materials that fit your budget while still being sturdy. For example, siding options like vinyl or wood can add to the aesthetic while providing necessary protection. A solid roof, such as asphalt shingles or metal, will protect against rain and snow accumulation. By investing in better materials, you create a shed that can withstand wear and tear over the years.
Construction Tips for a Sloped Site
Building a shed on a slope can be challenging yet rewarding. Start by conducting thorough site preparation. Clear the area of any brush, rocks, or debris. Establish a solid plan that considers the slope’s angle and direction. This groundwork will set the stage for a successful build.
When framing the shed, leveling is key. Your shed foundation must fit snugly within the slope’s contours. Use leveling tools like a laser level to ensure accuracy. This method helps avoid future issues related to stability. Building materials that can withstand a slope’s unique challenges include pressure-treated wood and concrete piers.
Constructing a strong foundation is crucial. A raised foundation works well on uneven terrain. Use concrete blocks or piers for elevation. These components will help maintain structural integrity. Don’t forget about drainage! Proper water management prevents erosion and protects the foundation over time.
During assembly, expect to face some common challenges. Shifting soil can make posts unstable. To combat this, dig deeper holes for your posts. Fill them with gravel for better drainage. This also aids in stabilizing the shed’s frame. Use diagonal bracing for added strength as the sides come together.
Tools play a significant role in the construction process. Ensure you have essentials like a level, tape measure, and a saw. A good cordless drill is invaluable. These tools streamline the building process and keep your project on track.
Landscaping around the shed is equally important. Create a slope away from the structure to direct rainwater runoff. Consider adding rocks or plants to stabilize the soil further. This not only looks good but also provides function.
As you construct your DIY shed, keep safety in mind. Wear gloves and goggles while working. Avoid overexertion on steep areas. Take breaks if necessary to maintain a clear head. Attention to detail can prevent accidents and costly mistakes.
Follow these construction tips to tackle the slope effectively. Remember, patience is vital. Building on a slope might take extra time and care, but the results will be worth it.
Landscaping Around the Shed
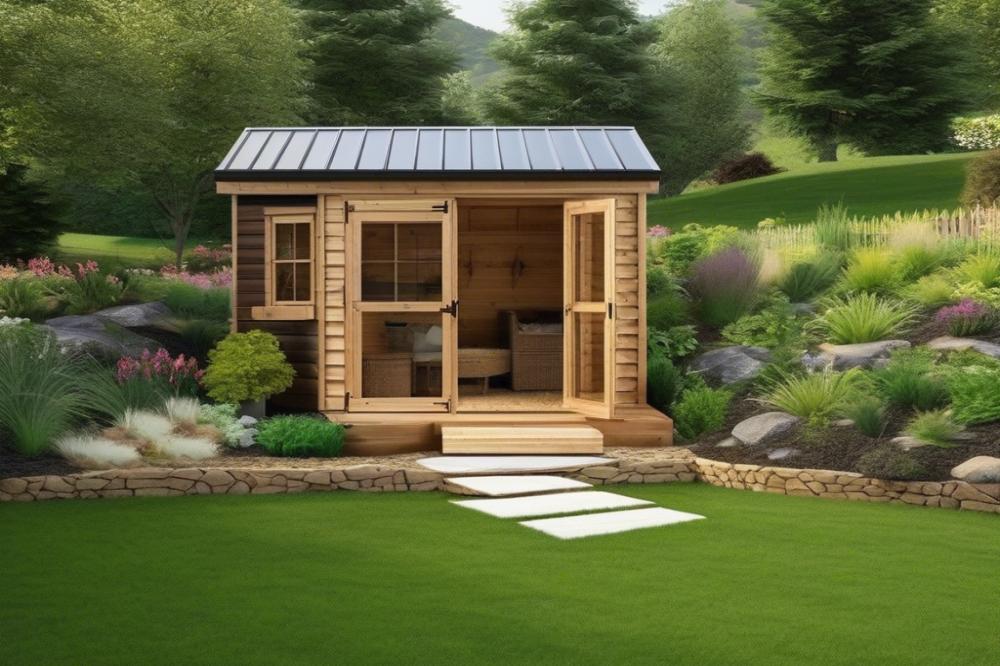
Landscaping can enhance the overall look of your shed while making the area more functional. Adding plants and hardscaping elements is a great way to achieve this. Begin by choosing the right plants that can thrive on a slope. Native species tend to require less maintenance and are better at preventing erosion. Consider colorful flowers or low-growing shrubs that add visual interest throughout the seasons.
For a DIY shed nestled on a slope, proper drainage is key. Rainwater can gather around the shed foundation, causing issues over time. Creating a drainage path will divert excess water away. Use gravel or small stones to form a small trench or swale. This will help guide water in a controlled direction, keeping the area dry and reducing erosion risk.
Incorporating ground cover plants can be beneficial. These plants will help hold the soil in place while adding a lush appearance. Look for varieties like creeping thyme or sedum, which spread easily and require little water. They help to stabilize the soil on the slope and reduce runoff.
Consider using hardscaping elements to complement the shed. A stone or brick pathway leading up to the door provides both beauty and practicality. Furthermore, these paths improve site preparation by keeping mud and dirt out of the shed. When selecting building materials, choose materials that blend well with the natural surroundings. This creates a cohesive look for your garden shed and yard.
In addition, adding mulch around your plants can prevent weeds and retain moisture. This simple technique is effective and low-maintenance. Use organic mulch to further improve soil quality as it decomposes. A well-landscaped area not only looks good but supports the health of the plants around your shed.
Remember to regularly maintain your landscaping. Trimming plants not only keeps them looking neat but also encourages healthy growth. Check for any erosion issues after heavy rains. Addressing these problems early helps ensure the long-term functionality of your landscape.
Landscaping can transform your shed’s environment and enhance its usability. By planning thoughtfully and incorporating vegetation wisely, you can create a beautiful, functional space. With the right tools and techniques, your shed area can become an attractive focal point, even on a challenging slope.
Wrapping It Up
Building a shed on a slope presents its own set of challenges, but it can also be a rewarding project. Key aspects include selecting the right location, ensuring stability with a proper shed foundation, and understanding how to manage water drainage effectively. Each of these elements plays a crucial role in the success of your build.
Don’t hesitate to take on this project if you have the motivation. With the right planning, anyone can create a useful outdoor space even on uneven terrain. You might even find that this experience enhances your DIY skills. Utilize the techniques discussed, be patient, and remember that every step you take brings you closer to your goal.
As you complete your shed, take a moment to appreciate your hard work. The finished product will not only serve practical purposes but will also provide a place to relax and enjoy your surroundings. Maintenance of the nearby environment is important, too. A well-kept area around your shed will add to its charm and keep the slope healthy.
So, embrace the unique opportunity this project offers. Have fun, be creative, and watch as you transform what once seemed like a difficult task into a wonderful addition to your space. Enjoy your new shed and all the possibilities it brings!


