How to Create a Shed Floor That Can Handle Heavy Loads
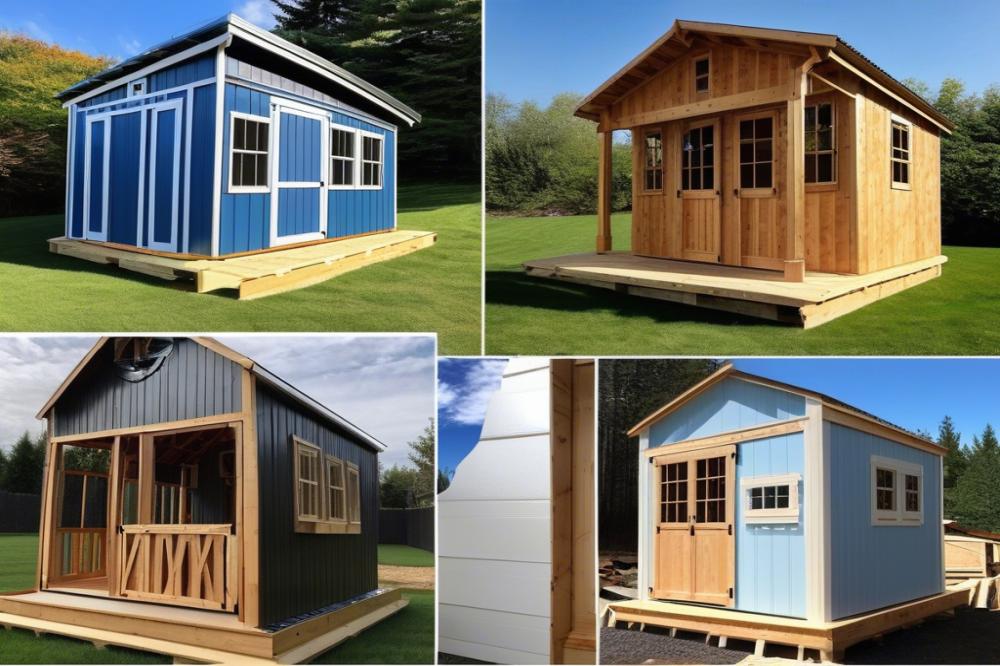
Building a strong shed floor is crucial if you plan to store valuable tools, equipment, or other heavy items. A solid floor can safely support the weight of heavy loads without bowing or collapsing. Whether you are an experienced DIYer or a novice, understanding how to create a durable floor will save you time and money in the long run.
shed flooring requires careful planning and execution. Various materials can be used for construction, but the choice depends heavily on your specific needs. For example, pressure-treated wood is often preferred for its resistance to moisture and pests. Plywood is another common option that provides good strength for flooring. Each material has its benefits, so consider your environment and planned usage carefully.
Several key factors contribute to strength and longevity. Weight capacity is a primary concern, especially if you intend to store heavy equipment. Proper joist spacing plays an essential role in distributing the weight evenly across the floor. Additionally, a sturdy foundation is imperative to guarantee solid support. Using a concrete slab can provide an excellent base for your shed, making it less susceptible to seasonal ground shifting.
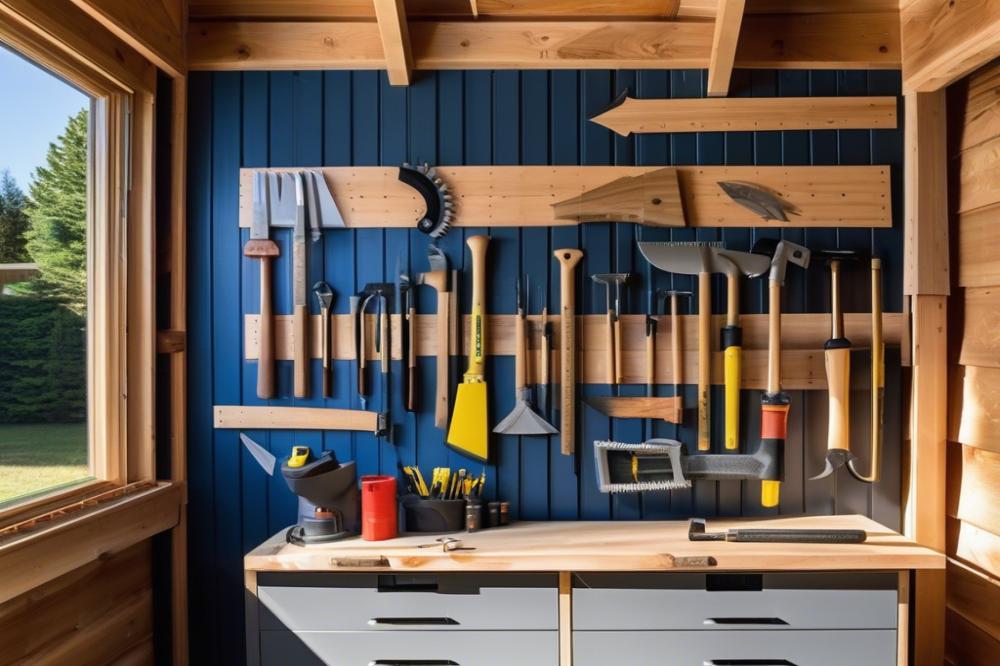
Always keep installation tips in mind. Level the ground before laying down any materials. This helps to prevent uneven wear and potential damage over time. Pay attention to load-bearing specifications when you choose materials and construct the frame. A thoughtful approach ensures that your shed floor construction can provide adequate heavy load support.
Understanding load-bearing Requirements
shed flooring must handle the weight of stored items and equipment. Each design differs, so understanding weight capacity is critical. A floor’s ability to bear heavy loads depends on several factors including materials and structure.
Determining expected loads begins with your plans for the shed. Will it house a riding mower, power tools, or bulky boxes? Knowing the weight of each item helps calculate the total load. You might also want to consider future storage needs. Anticipating these factors could avoid potential issues later.
Performing a load-bearing analysis before construction is essential. This means evaluating your foundation, joist spacing, and the type of materials you intend to use. For example, pressure-treated wood can resist rot, making it suitable for moisture-prone areas. In contrast, a concrete slab might provide a solid base but requires different installation techniques.
When selecting materials, keep weight capacity in mind. Plywood is often a reliable choice for flooring due to its strength and durability. You will need to space joists properly to maximize support. A common spacing is 16 inches on center, but this can vary based on the load.
Think about how heavy the items will be when full. If you’re storing equipment, heavy tools, or supplies, they can quickly add up. Proper installation tips are vital at this stage. Always follow manufacturer recommendations for best results. This way, you can achieve a maximum load-bearing capacity for your shed floor.
Material Selection for Shed Flooring
Choosing the right materials is crucial for a strong and durable floor. When comparing options, plywood and concrete slab come to mind. Plywood is lightweight and easier to install. However, it may not always provide the best load-bearing capacity. Concrete slabs, on the other hand, are incredibly robust. They can withstand heavy loads but require a solid foundation and proper drainage.
Advantages of Pressure-Treated Wood
Pressure-treated wood offers several benefits for shed flooring. Resistance to rot and insects is perhaps its most notable feature. This type of wood is specially treated to last longer, especially in damp environments. It can handle plenty of weight as long as the joist spacing is correct. Additionally, installation is straightforward compared to heavier materials like concrete. Many homeowners appreciate its visual appeal, as well.
Best Practices for Choosing Materials
Understanding the weight capacity of your shed is key before making selections. You should also think about your intended use for the space. Selecting materials that enhance durability requires some thought. Check for weather-resistant properties in wood to help it last longer. Reinforcing your shed flooring with a solid foundation proves beneficial as well. Always consider installation tips such as ensuring proper leveling and spacing between joists. These factors contribute to a stable and usable shed floor that performs well under heavy loads.
Foundation and Joist Considerations

A solid foundation is crucial for supporting heavy loads. Without it, your shed flooring may sag or even collapse. Properly chosen materials and construction methods play a key role in overall stability. When planning your shed, think carefully about the foundation type that best suits your needs.
Several foundation options are available. A concrete slab provides excellent load-bearing capacity. This choice offers durability and resistance against moisture. On the other hand, using pressure-treated wood posts set in concrete can be beneficial for smaller structures. They elevate the shed flooring, protecting it from direct contact with the ground.
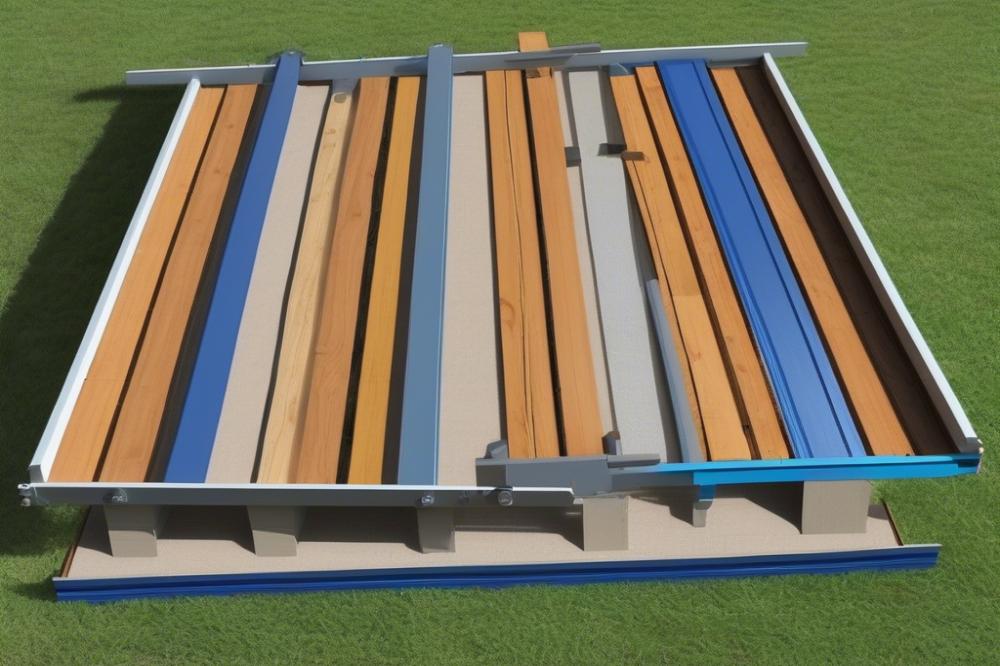
Joist spacing is equally important for added support and stability. The distance between joists can affect how well the floor handles weight. Most wooden structures follow the rule of 16 inches on center, but for heavy loads, reducing that distance to 12 inches may be wise. Using quality plywood for the flooring enhances strength when combined with adequate joist spacing.
Weight capacity relies not only on the foundation but also on the materials you select. Investing in robust beams and sturdy joists can make a significant difference. When considering material selection, prioritize items that are designed to withstand heavy stress. This attention to detail prevents future issues and ensures the longevity of your shed.
Follow careful installation tips to achieve a solid result. Level the ground before laying any foundation. Accuracy during the framing process guarantees that everything fits together as intended. Reinforcing joists can also be practical if heavy equipment or furniture will be placed inside.
Shed Flooring Installation Tips
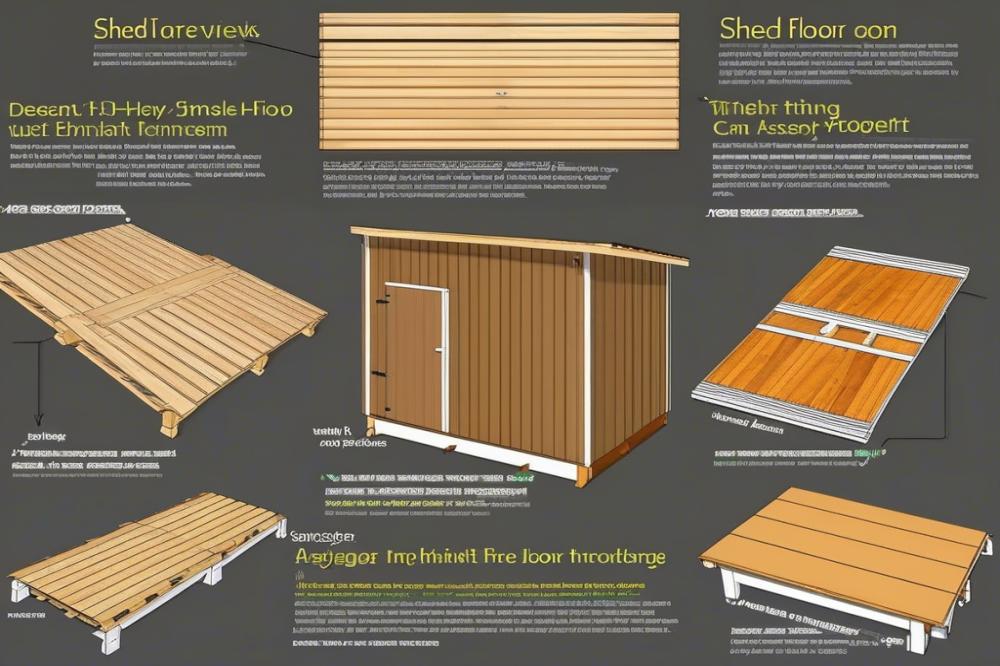
Start by preparing the area for your shed flooring. Clear the ground of any debris, roots, or rocks. A level foundation is crucial for structural integrity. You can choose between a concrete slab or a frame of pressure-treated wood. Each has its advantages, so select what works best for your environment and load-bearing needs. For maximum stability and support, a concrete slab works great in areas prone to moisture.
Next, focus on material selection. Quality plywood is often recommended for flooring because of its durability and strength. For heavier loads, consider thicker sheets to increase weight capacity. If using wood, remember to opt for pressure-treated wood. This type of wood resists rot and lasts longer, especially in outdoor settings.
After gathering your materials, it’s time to lay out the joists. Proper joist spacing is critical. Generally, spacing joists 16 inches apart is effective for most applications. However, if you plan to store very heavy items, 12 inches might serve you better. Take your time to measure and mark the locations before securing them down.
Securing materials is the next step in this process. Use a level to check alignment as you position the floor joists. Fasten each joist to the foundation with heavy-duty screws or bolts. This will create a sturdy framework for the flooring. Once the joists are in place, lay the plywood sheets over the frame. Start from one end and work your way across, fixing the panels down with screws spaced at about 8 inches apart. This prevents any movement or bending under pressure.
After installation, maintaining the shed flooring is essential. Regularly check for any signs of wear or damage. Inspecting for rot or structural weaknesses can save you from larger issues in the future. Always keep the area dry, as moisture can weaken even the best materials over time. If you notice any problems, repair them right away.
Final Thoughts on Building a Strong Shed Floor
A strong shed floor is essential for anyone who plans to store heavy items. We discussed various methods to create a durable base that can withstand significant weight. Choosing the right materials plays a crucial role. Quality wood or concrete can make a big difference in load-bearing capacity. Proper support structures, like joists and beams, distribute weight evenly.
Don’t overlook the importance of a level surface. Installing your floor on stable ground will help prevent sagging or damage over time. Remember, safety should always come first. A well-constructed floor protects both your belongings and anyone who uses the shed.
Investing time and resources into building a solid shed flooring will pay off in the long run. It enhances usability and increases the longevity of your storage space. With good planning and execution, your shed can handle all your storage needs without worry. Prioritize proper construction, and enjoy the benefits of a reliable storage solution.